Getting Started With Unity (Part 1 Installation)
By the end of this tutorial, you will hopefully be able to install and start Unity.
Unity is all-in-one Editor that extends to match your production workflow. The Unity Editor features multiple tools that enable rapid editing and iteration in your development cycles, including Play mode for quick previews of your work in real-time. -“Unity”

Overview
The Unity version we are going to install is Unity 2017.3.1f. We will start by creating an account and downloading the software. To keep yourself always motivated, have a look at the top selected apps that are Made with Unity.
Setup
First of all, we need to create account. Visit Unity’s official website and sign up as we will login later on when we install Unity.
After creating an account, you will need to verify it from your email before using it. Once done, Let’s proceed to downloading Unity.
Visit the Unity’s Store and select the Personal Edition and download the installer.
| Personal Edition | Installer |
|---|---|
 |
 |
When installing, you will be given a choice to select and deselect stuff. There is no need to select everything like you usually do. Let’s see what’s important. Unity itself is the most important. An IDE too is essential, so choose either MonoDevelop or Visual Studio. I prefer Visual Studio so I choose it.
You can also select other stuff that might help you like:
- Documentaion which is also available online from here
- Standard Assets which holds some useful assets for prototyping
- Example Projects which contains some sample projects to learn from
Other helpful packages are target platform specific like Android Build Suppot and others.

Wait for the download and you are ready to go.
Unity Editor
Once you open it for the first time, You will be asked to enter the username and password and do a simple survey.
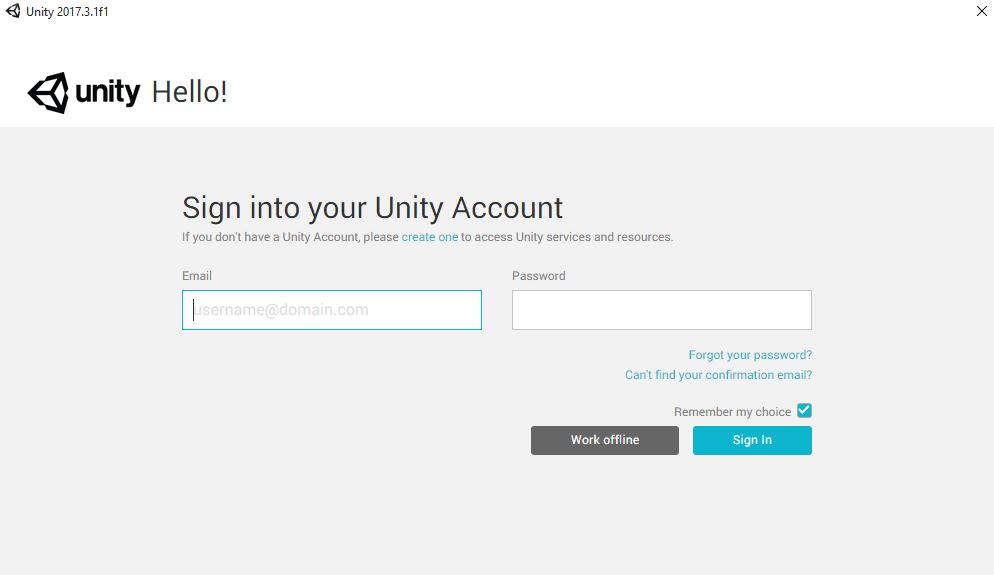
If you don’t have the Work Offline button, That’s because you need to at least login for the first time but later you will find this option when you sign out.
Once done, you are ready to go

Press on the New button at the top and create a new project. Name the project anything you like. Here I named it MyFirstUnityProject
The 3D and 2D setting can be changed later from inside so it doesn’t matter.
Turn off “Enable Unity Analytics” and press Create project
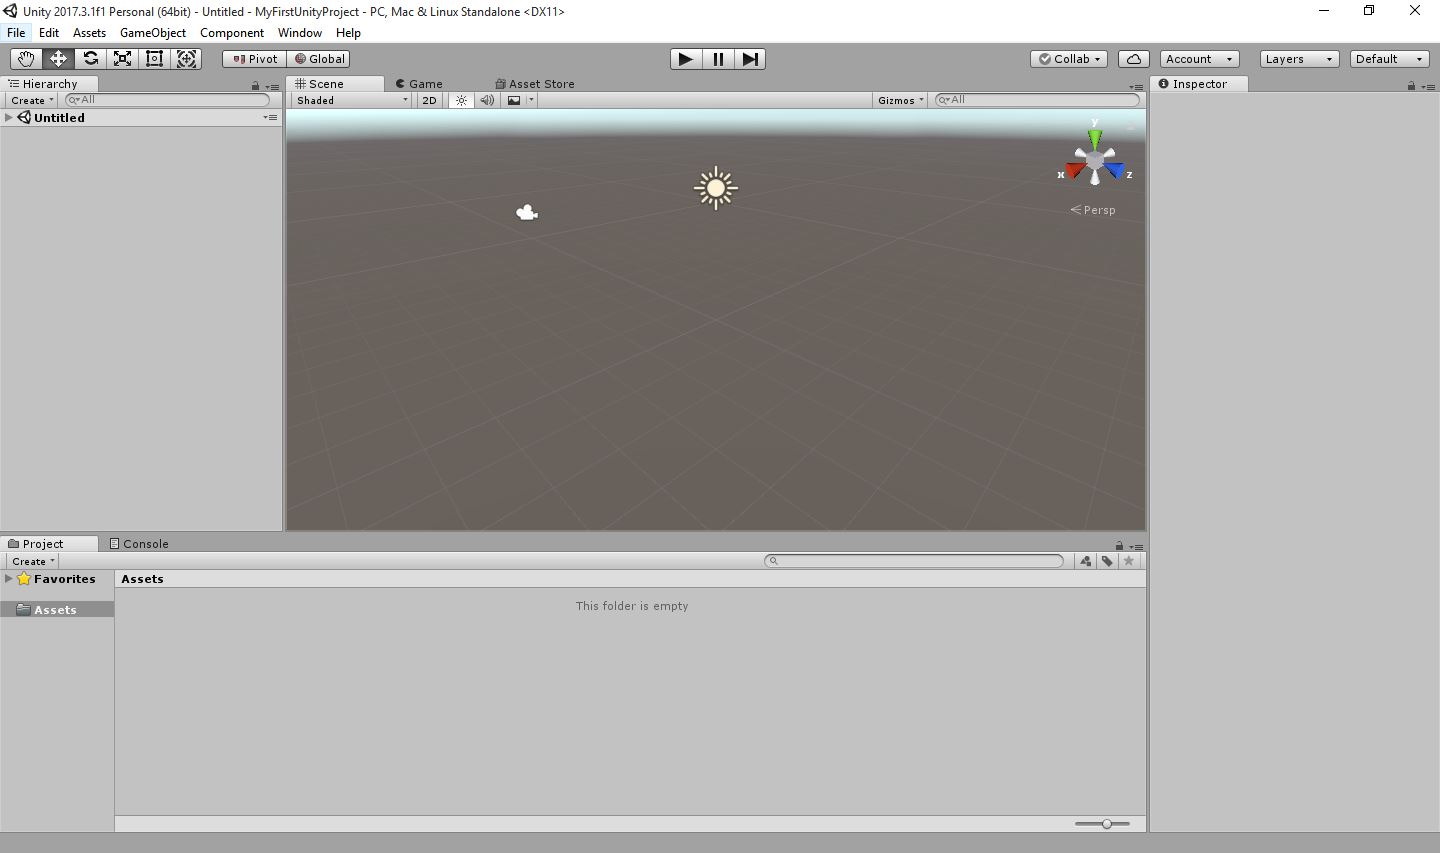 Welcome to unity. The is what probably loads up to you when you open it.
In the next tutorial, we will understand what is this interface about.