Getting Started With Unity (Part 2 Interface)
By the end of this tutorial, you will hopefully understand Unity’s interface and be comfortable creating your custom layout.
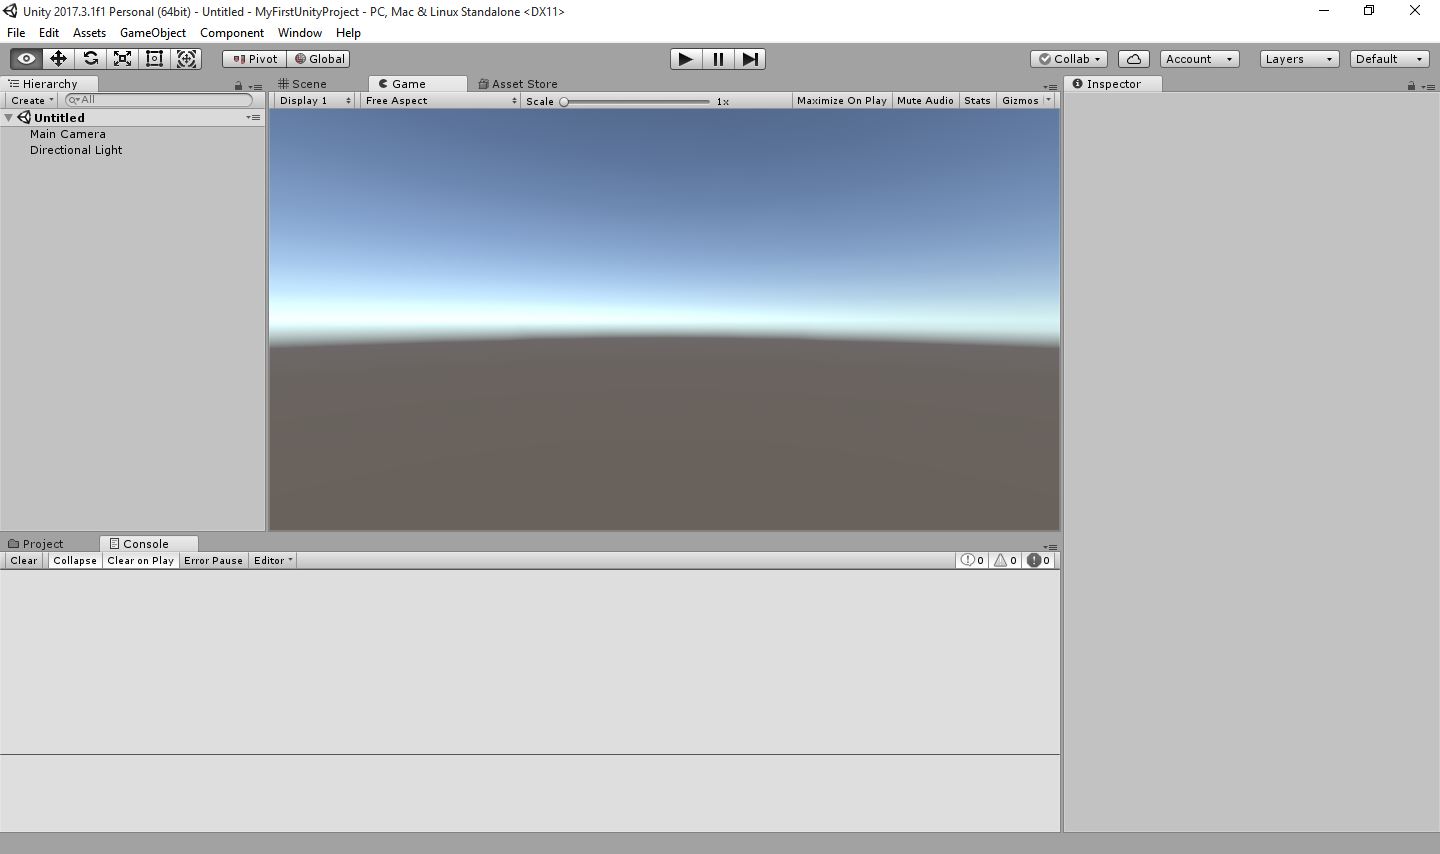
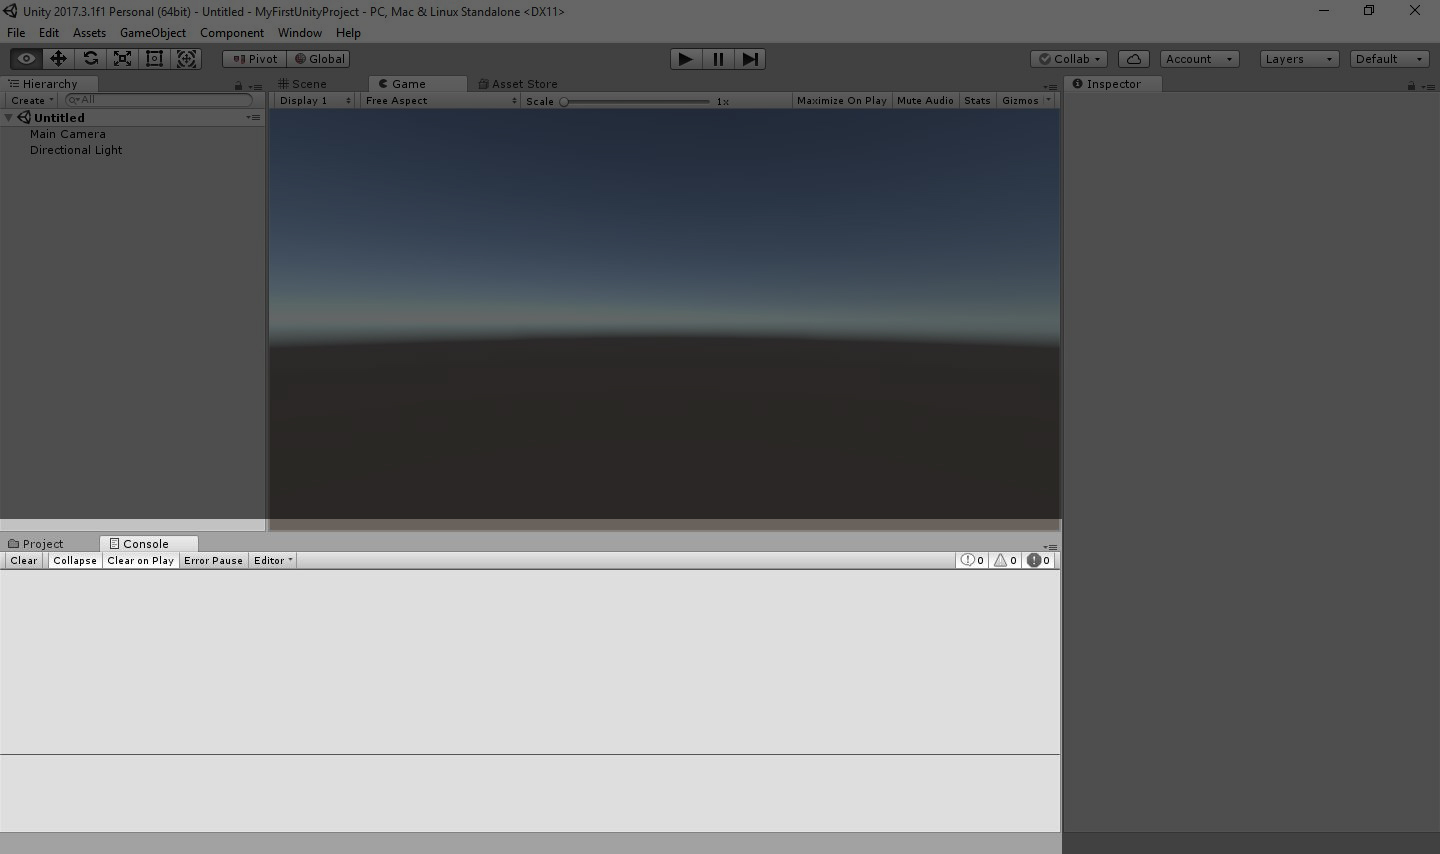
This is where we left off last time. Last time was about installing Unity. If you have Unity installed, you are good to go. If not, then read Part 1.
Unity’s Interface
Different Tabs
Unity has a bunch of tabs for you. Each tab has it’s own usability. We will go through some terminologies and the most important tabs.
Overview of Tabs
All tabs can be found under Window drop down menu in case you are searching for something specific or closed something by mistake.
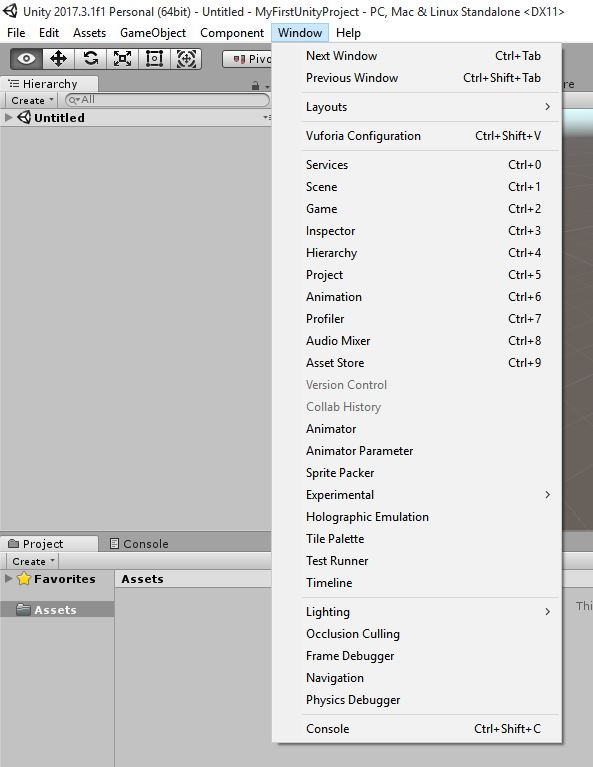
Window Menu
Scene
A Scene is similar to a level in a game. That doesn’t mean a scene is only a level. It can be anything else like a main menu. For now, let’s imagine a scene is analogs to a level in a game.
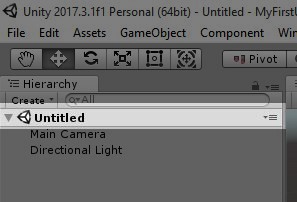
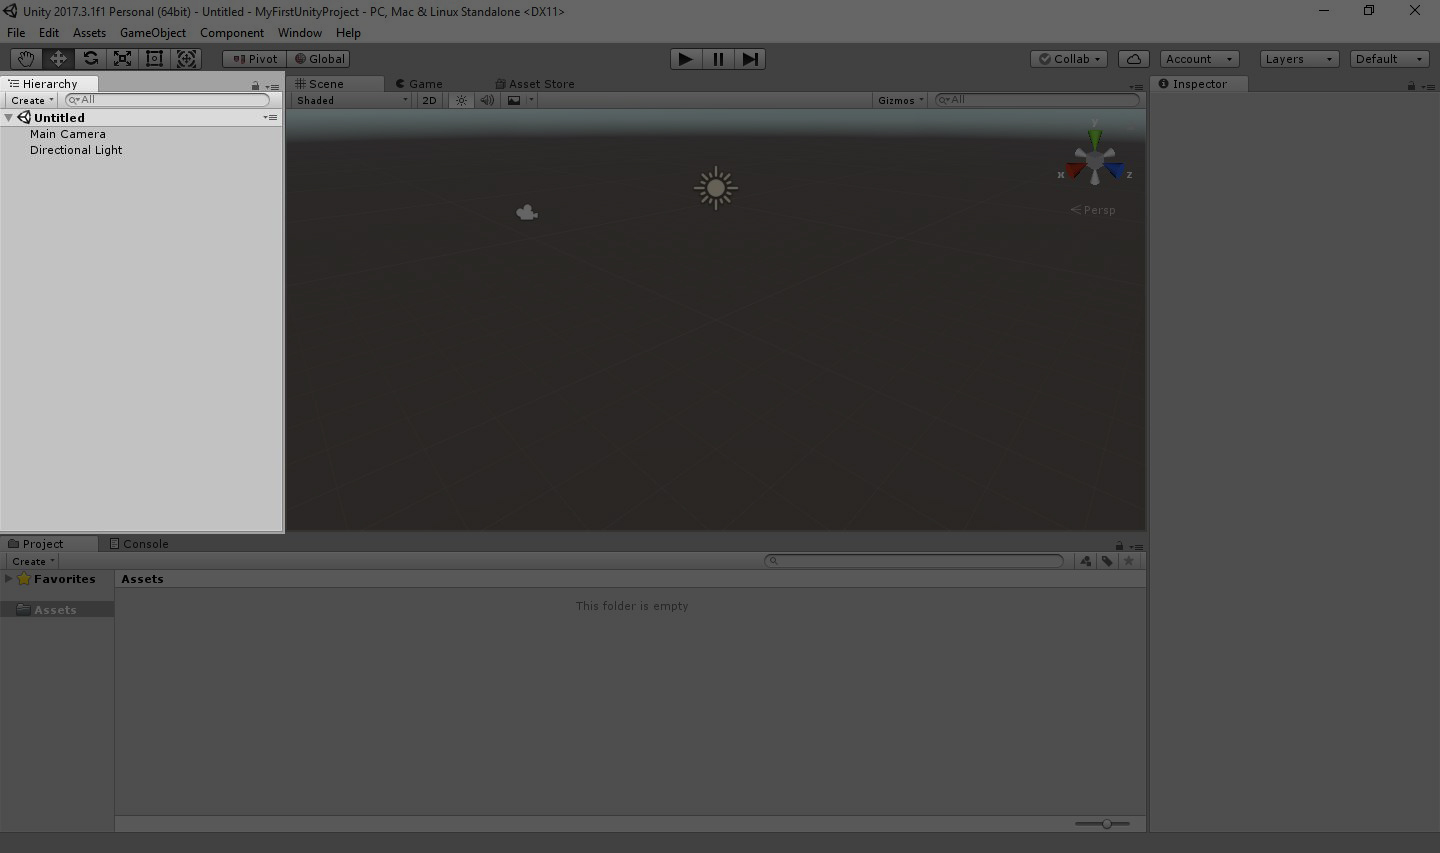
By default, when creating a new Project, Unity creates a scene for you and adds in a Main Camera and a Directional Light in case of 3D.
If you don’t see the Main Camera and Directional Light under you scene name. Make sure you press the small arrow behind the word Untitled.
Scene
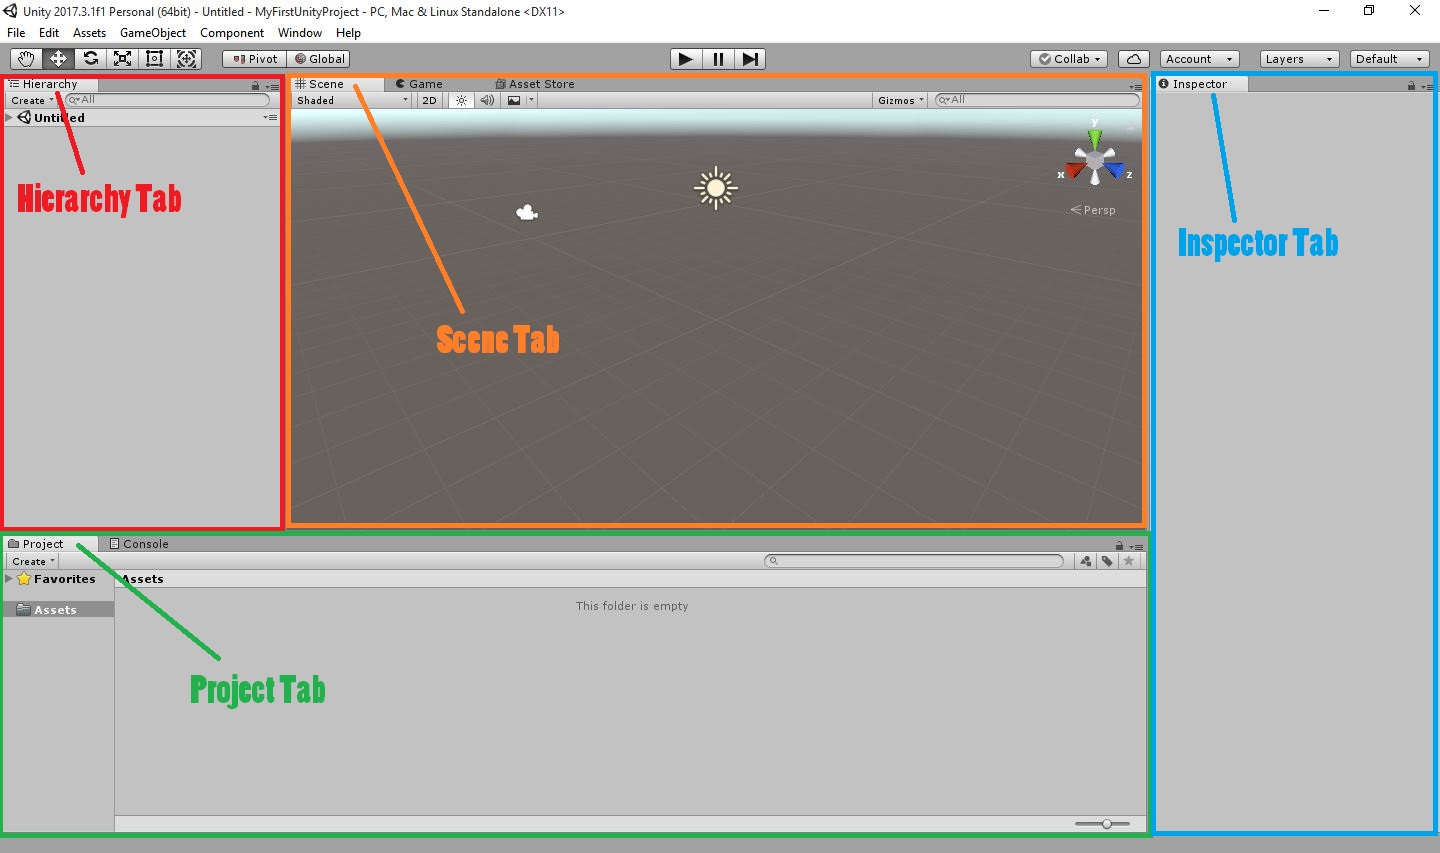
Hierarchy Tab
The Hierarchy is window on the left. It shows you the GameObjects that are currently in the scene.
Hieracrhy Tab
Inspector Tab
On the right, we have the inspector, where you view and edit the components of the selected object. It is where you change for example the position and rotation of an object in the scene.
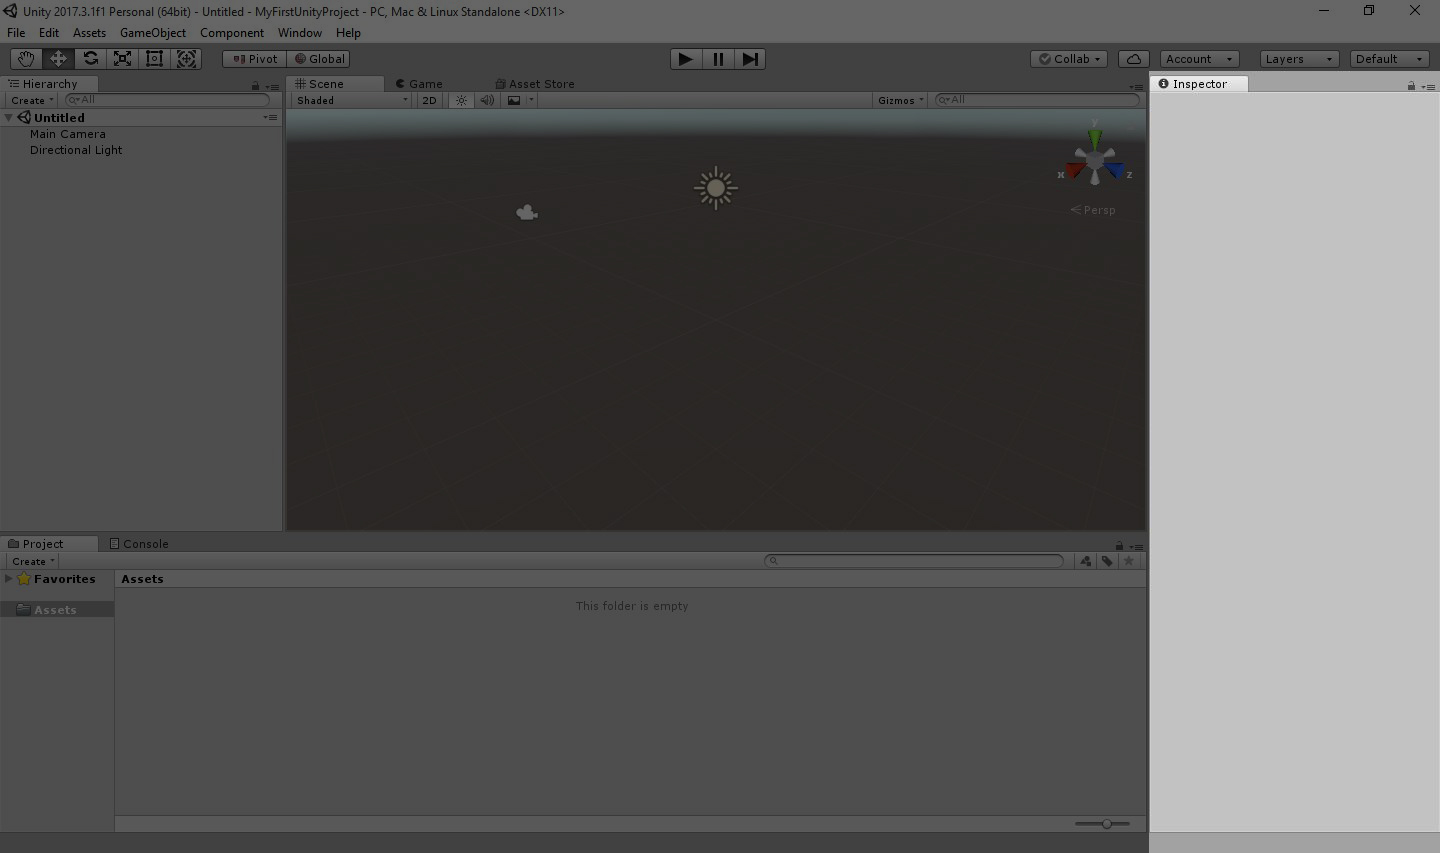
Inspector tab
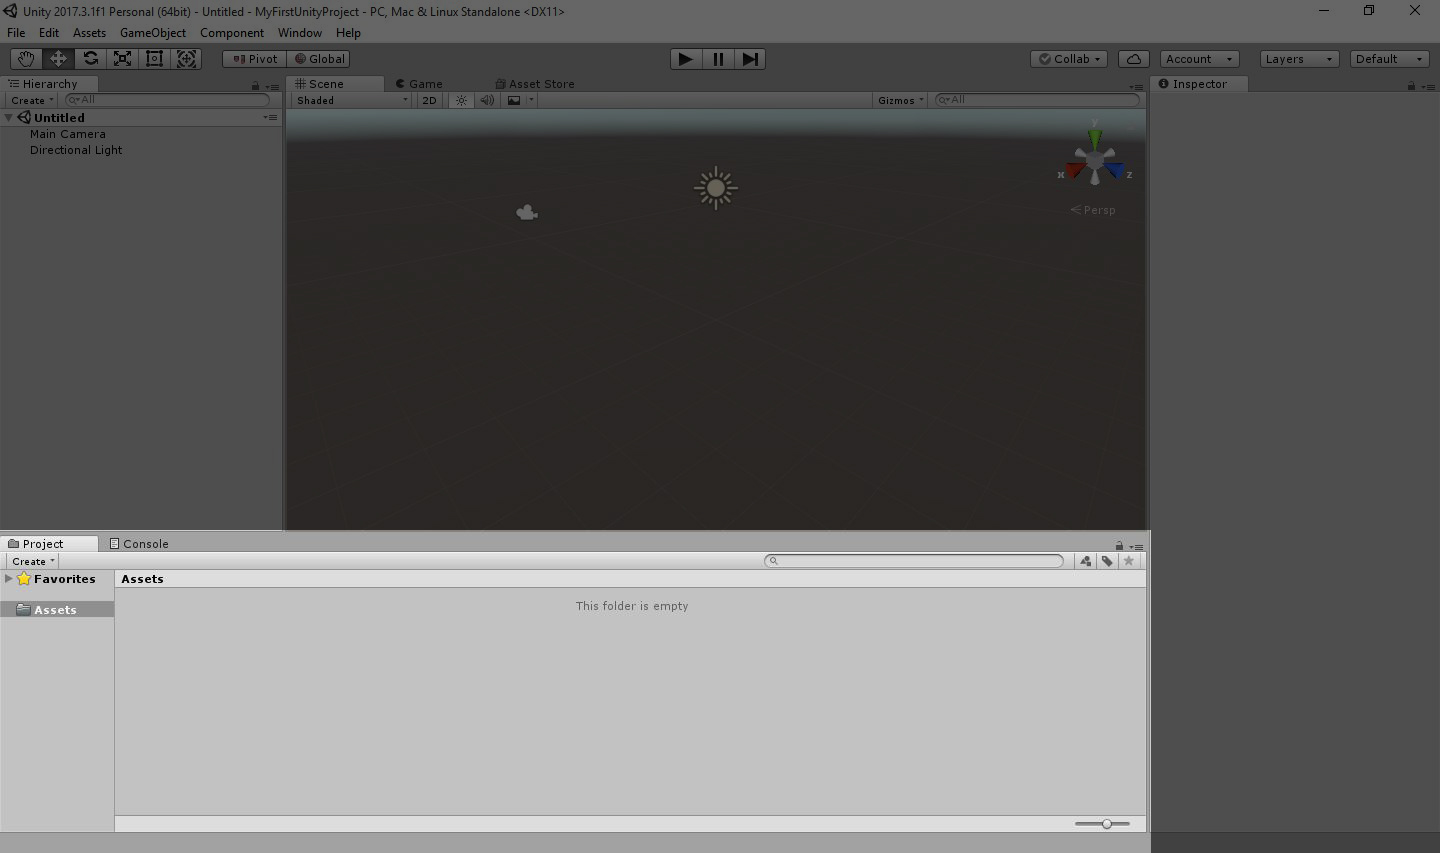
Scene View
The scene view is the place where you actually place and move stuff to design your unique game play or experiences.
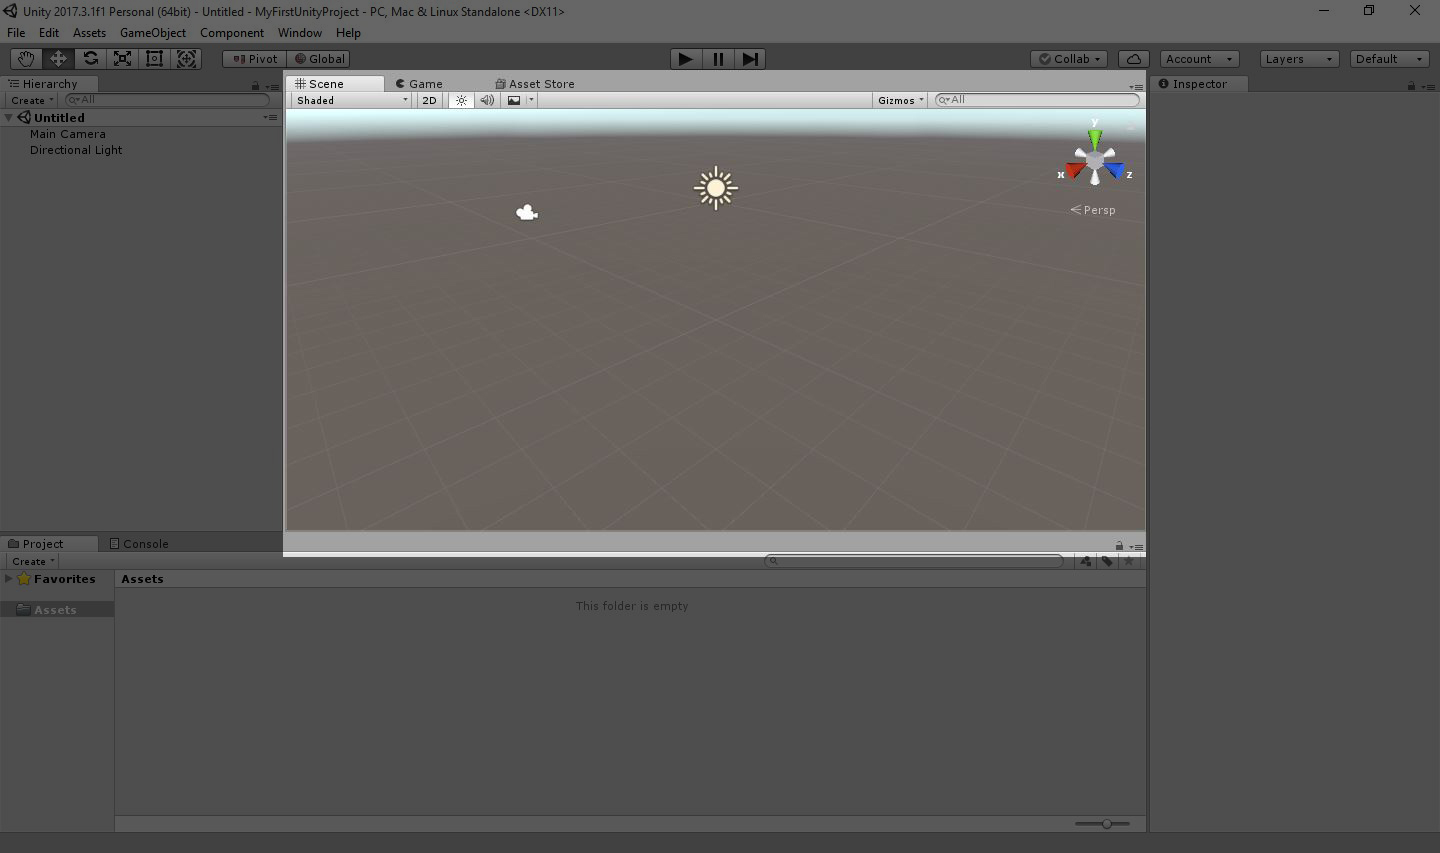
Scene View Tab
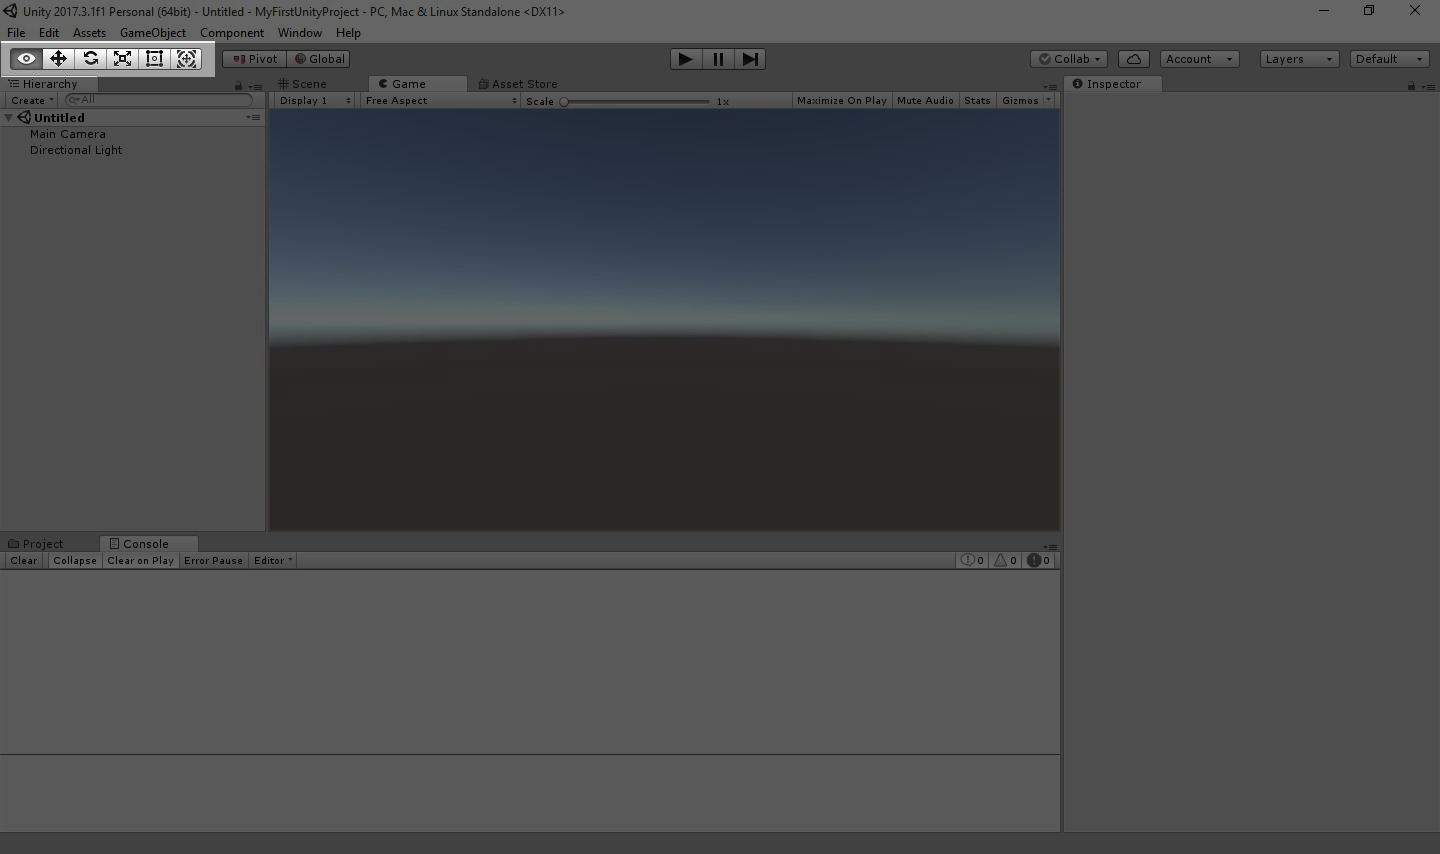
Game View
The game is what the actual player will see when the game runs. It is exactly what the main camera see. So, make sure to later place the camera around where you want the game to start from.
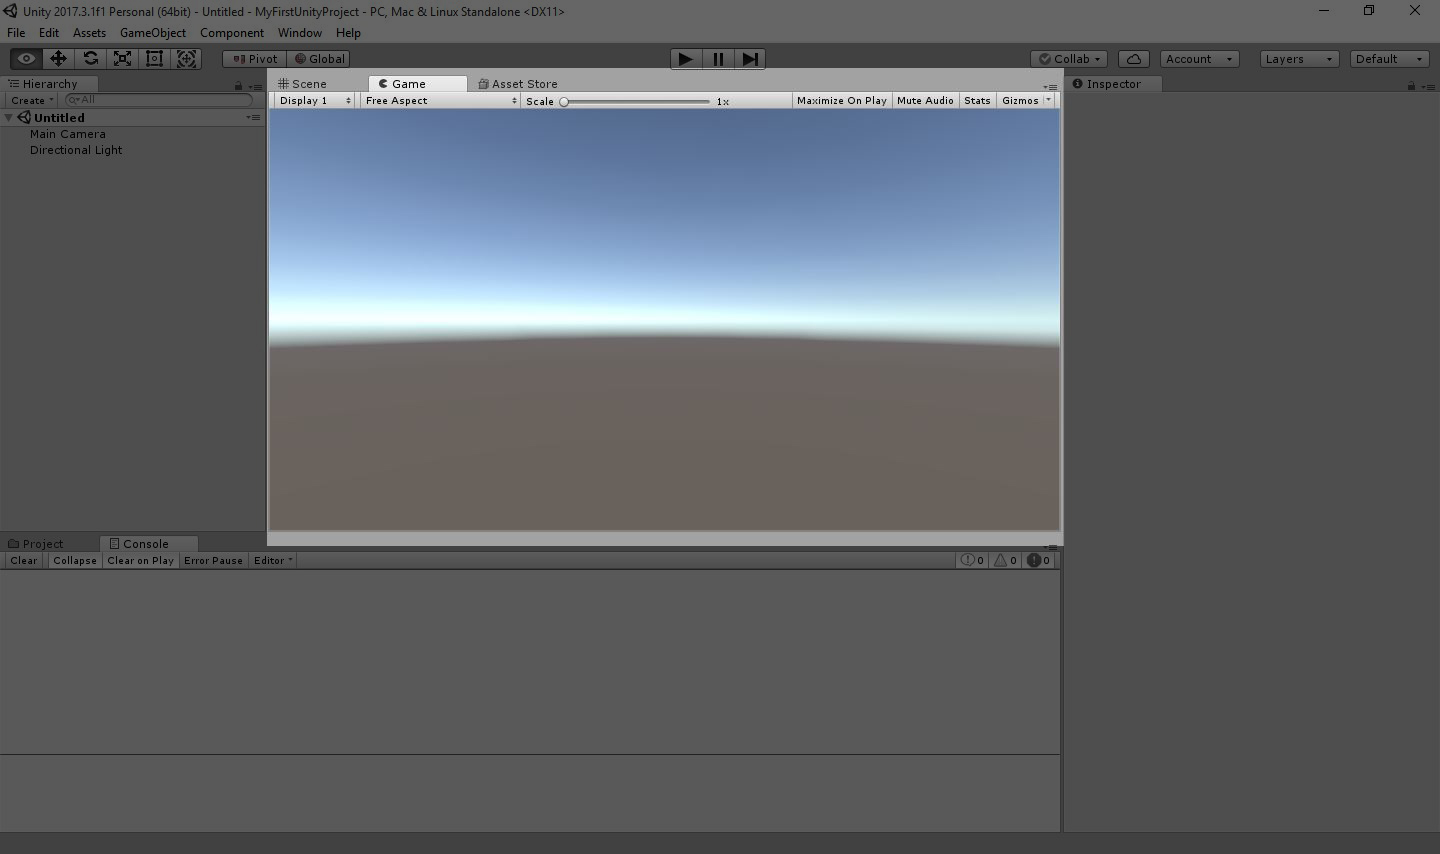
Game View Tab
Tools
The tools are used to navigate or edit 2D and 3D objects in the scene.
Tools

- Hand tool - Pan around the scene
- Move tool - Moves the selected GameObject
- Rotate tool - Rotaes the selected GameObject
- Scale tool - Scales the selected GameObject
- Rect tool - Modify the object. Better used in 2D space.
- Move, rotate, or scale selected object - As the name states exactly. All tools in one easy tool.
Let us create a cube to test this out.
You can create it in 3 different ways:
- Right click in the hierarchy
- The small Create button at the top of the hierarchy below the tab name
- The GameObject drop down in the menu bard
In all cases, we will go to 3D Objects > Cube
Cube creation
Cube Movement and rotation
Project Tab
At the button, there is the Project tab that acts as your file explorer, it shows all the files used in the Assets folder of your project.
The Project Tab
Console
The Console is where you’ll see any errors or warnings that we will get into it later when we start writing scripts.
The Console Tab
Customization
All these tabs are movable and docakble.
Click on any tab name and start dragging it around and it will snap.
If you either like it and want to save it, or want to revert back to the default one. Click on the Default dropdown in the top right right to choose different layout and experiment with them.
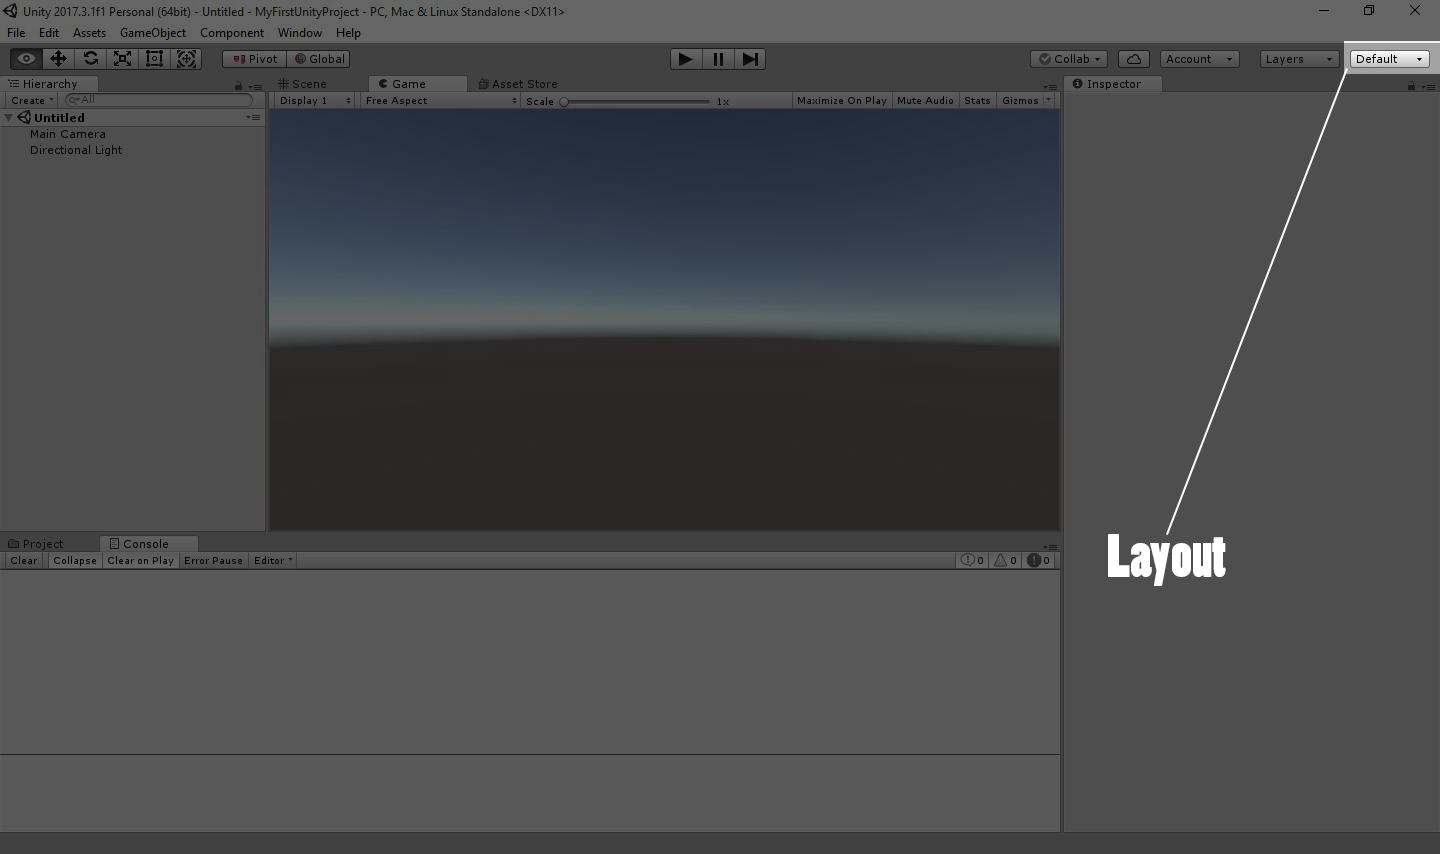
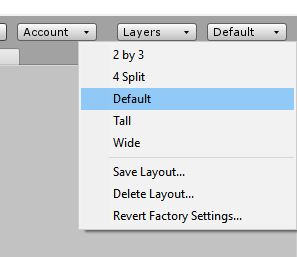
Layouts
Saving Scene
Let’s save our scene and call it a day.
Press Ctrl + S on windows or Cmd + S on the Mac to save the scene.
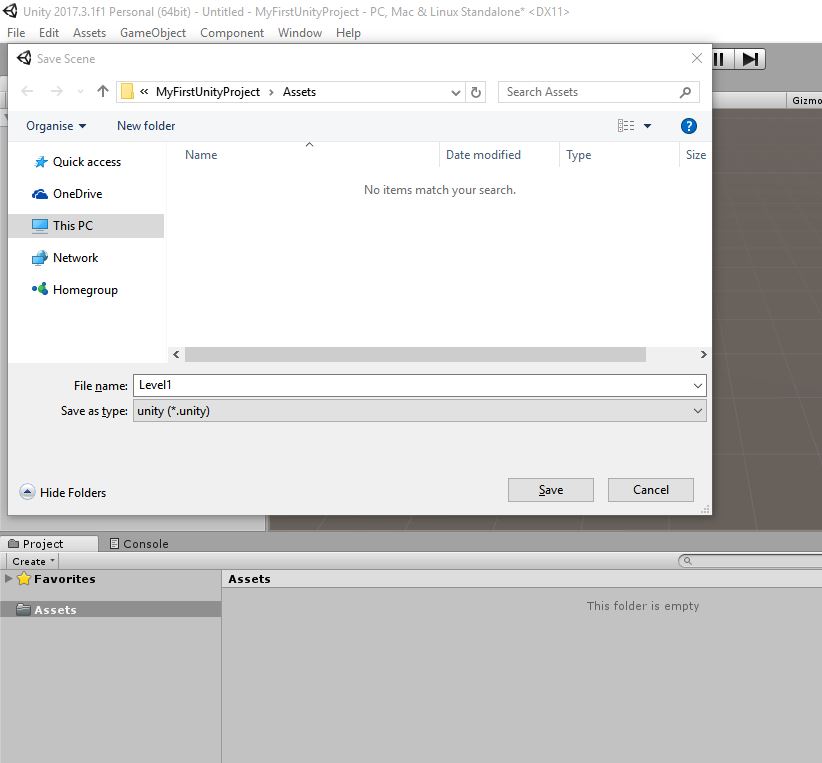
Saving
Save it inside the Assets folder and name it anything. Here I named it Level1 for simplicity.
You will find the freshly saved scene in the project tab inside the Assets folder.
Saved
Summary
We have learned about Unity’s interface and a brief introduction about each tab or window. In the next part, we will learn how to navigate in the scene.