Getting Started With Unity (Part 3 Navigation)
Today we will learn something simple, yet very important and you must be comfortable with as it will ease your work.
In the previous tutorial we talked about Unity’s interface, make sure to look at it if you feel that you need to: Getting Started With Unity Part 2 (Interface). I will leave the link for part 1 and 2 down in the reference section at the end.
Overview
As you have guessed from the title, we will be learning how to navigate around in Unity’s scene. Just like this awesome car knowing it’s way around and going smoothly. There are 2 modes when navigating around in Unity. The 2D scene and the 3D scene. We will go in each mode and hopefully you won’t regret the ride.

How to navigate
Before getting started, let’s setup the scene to have things to navigate around.
Setting the scene
Let’s set up a place to move around in the scene. Make sure that the Scene tab is open.
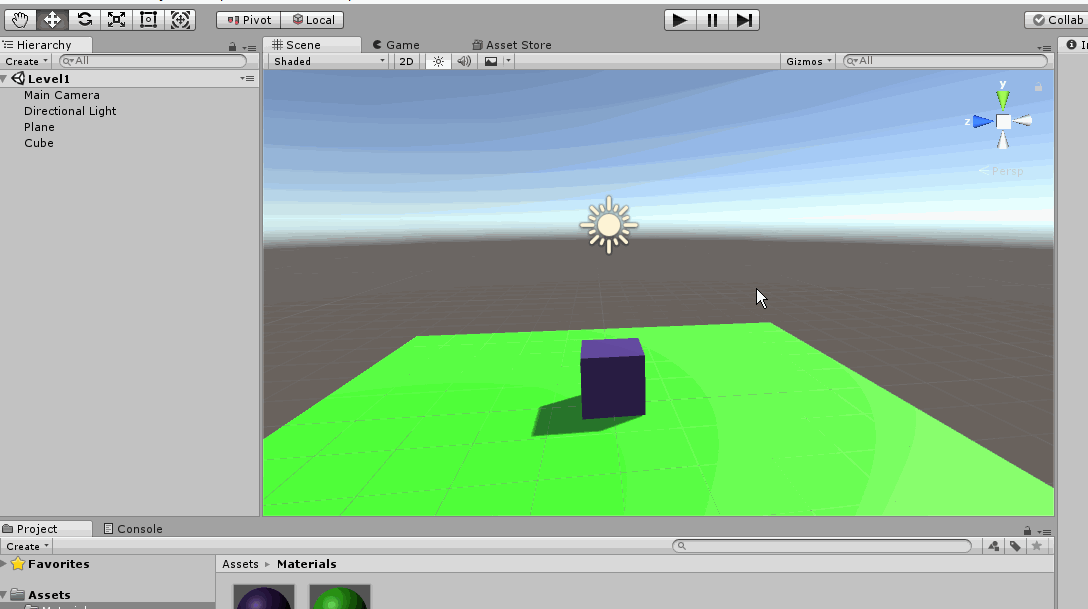
 Scene view is open
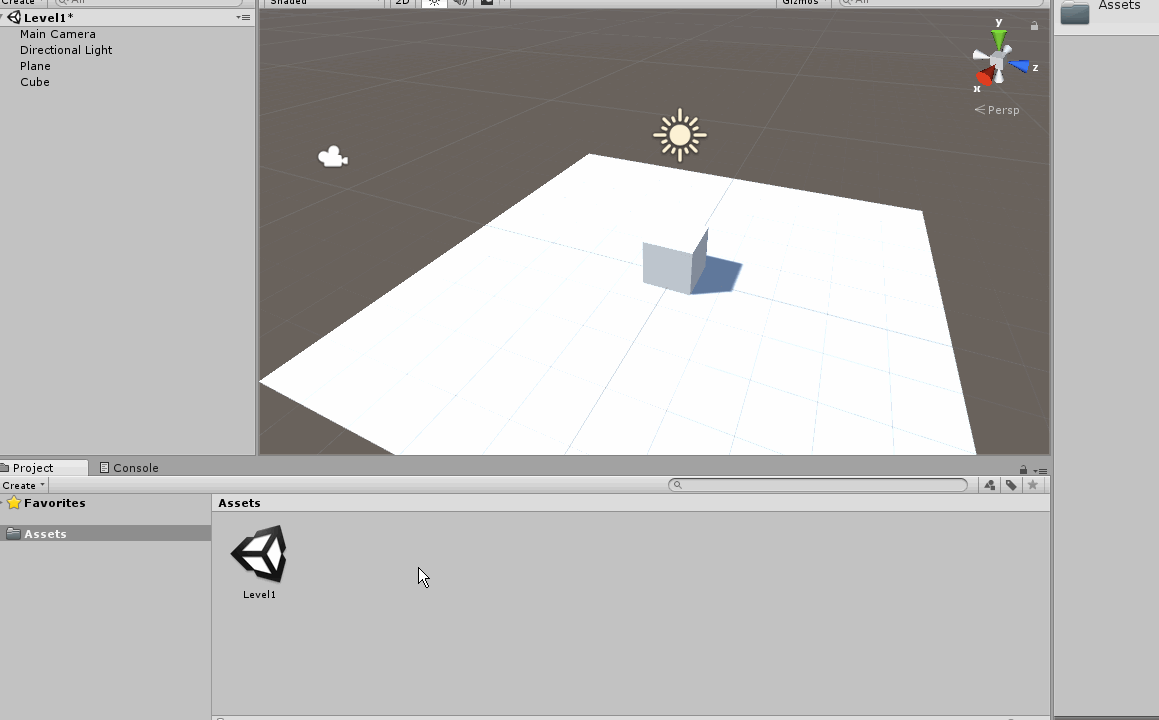
Remember that the Scene view is what the developer see while developing, whereas the Game view is what the player see when you publish the game. We will start by creating a plane then we will create a cube. You can create a plane using 3 different ways discussed in the previous tutorial:
- Right click in the Hierarchy and then 3D Object > Plane
-
In the Inspector, right click on the Transform > Reset. This resets the transform making it zeros in position and rotation with a scale of 1 in case it is not in the origin.
 Creating a plane
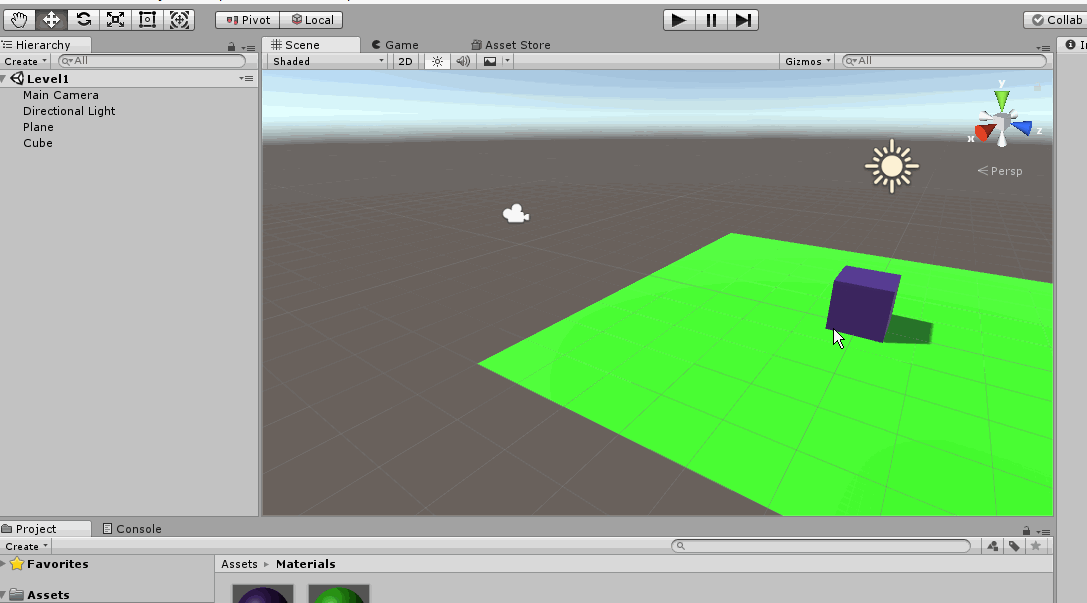
 - Create a cube and set it’s position to (0, 0.5, 0). You can also move the cube around using the gizmos on it as we discussed in the previous tutorial.
 Creating a cube
We will create a material which will be used now for simply adding colors to the created objects. Materials will be explained later in future tutorials. For now follow along.
It’s better to keep things organized for both you and the people who are working with you. So, let’s move on:
Organize
- Create a new folder in the project by right clicking in a empty space then Create > Folder
- Go to the folder and create a new material by Right Click > Create > Material
 Creating a material
Duplicating and renaming
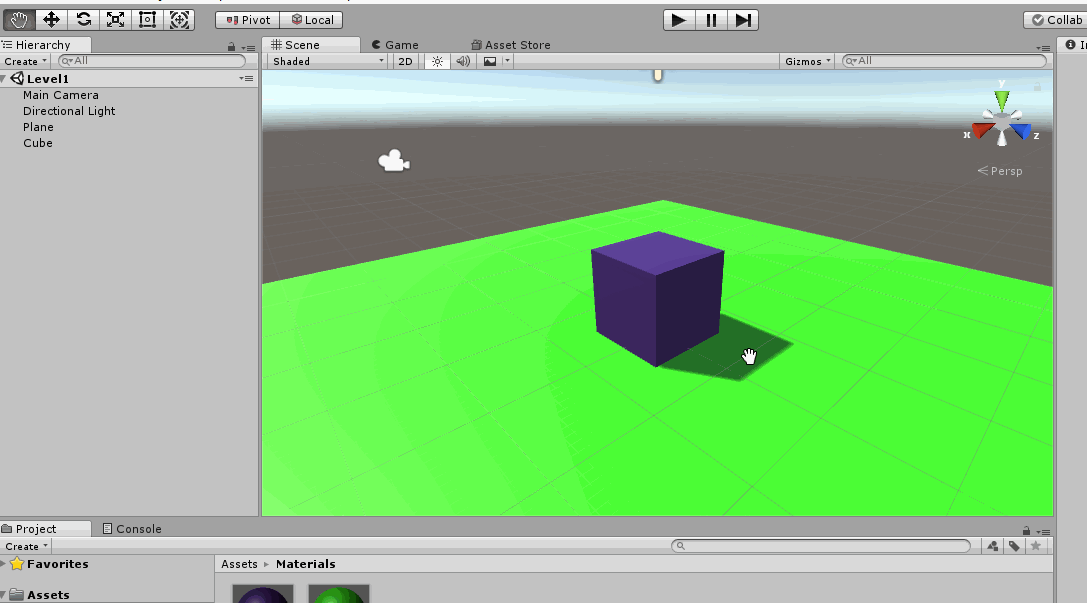
- Select the material by clicking it and change the color in the inspector tab
- Duplicate the material by selecting it and pressing Ctrl + D on windows or Command + D on the MAC and then change the color.
- Rename them by selecting them and then pressing F2 on the keyboard, then enter the name you want.
 Duplicate and rename material
 Change material color
Assign
- Assign the material to the object by dragging and dropping it on the object you want from the Project to the Scene. You can edit the material later and it will update instantly.
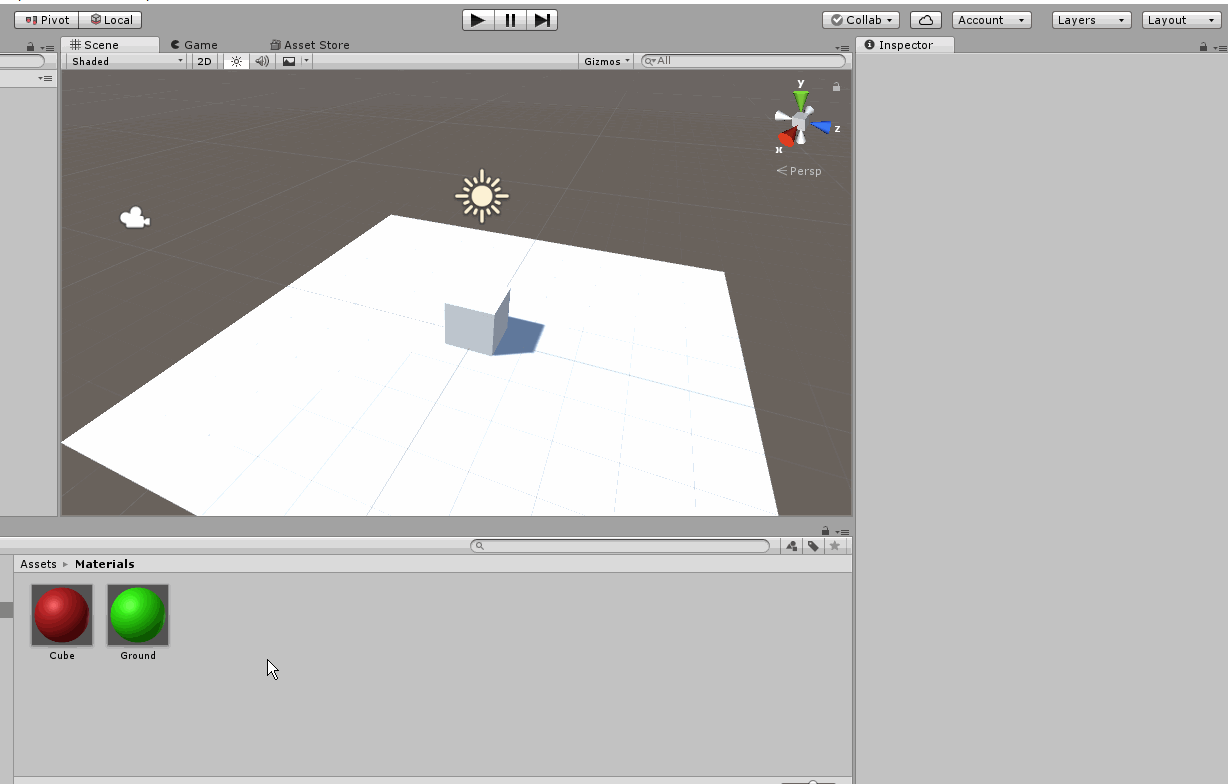 Material assigning
Gizmos
The first important thing is the gizmos which can be seen at the top right corner of the scene view. The gizmos shows the X,Y and Z axes of the world. Right now for example, we are facing the we are looking in the -X direction.
 Gizmos
To snap to a view, click on the a axis you want to look at:
 Gizmos snap
There are 2 main modes in 3D. The Perspective and Orthographic.
You can switch between them by clicking on the small Presp or ISO below the gizmos of the scene or by clicking on the cube at the center of all gizmos.
 Changing between views
This just changes the view in the scene but not in the game. The Isometric view would be useful for aligning things perfectly but the perspective is to view things like the normal eyes does.
Panning
Panning could be done in 3 ways:
- From the hand tool in the tools at the top which has a shortcut of letter Q.
- By holding down the Middle mouse button in the scene view.
- By holding both Ctrl + Alt on windows and Cmd + Control on MAC
 Panning around
Frame Selected
Let’s say, you kept panning and lost the sight of the object and you don’t know where to look.
To fix this, select an object from the Hirearchy that you are searching for then select the Scene tab and simply press the F button and the object you are looking for will be framed in the scene view.
Another way of framing is by double clicking the object you want to frame in the Hirearchy.
 Frame Selected
Rotating
There are two types of rotating:
-
Rotating your head
This can be done by holding the Right click and moving the mouse
-
Orbiting around an object
This can be done by holding the Alt key on keyboard Right click and moving the mouse. Make sure an object is framed to rotate around it.
 Rotate around an object
Zooming
There are two ways of zooming:
- Using the default scroll wheel
- By holding Alt key then hold the Right mouse button and drag
 Zooming in and out
Fly through mode
My personal favorite is the fly through mode. It is like treating the editor as an FPS game.
Simply hold the right click button and you will find the cursor changed to an eyeball with arrow buttons.

You can navigate using the normal WASD controls. You need to keep holding the Right mouse button. To change your altitude without looking down then moving forward then looking up, you can use the:
- Q key to move down
- E key to move up
With some practice you will eventually get it. Holding Shift with any of the previously mentioned movements will increase the speed.
 Fly through mode
Summary
Now you can build a scene and navigate around it easily. Just the like the car at the beginning.
 Awesome
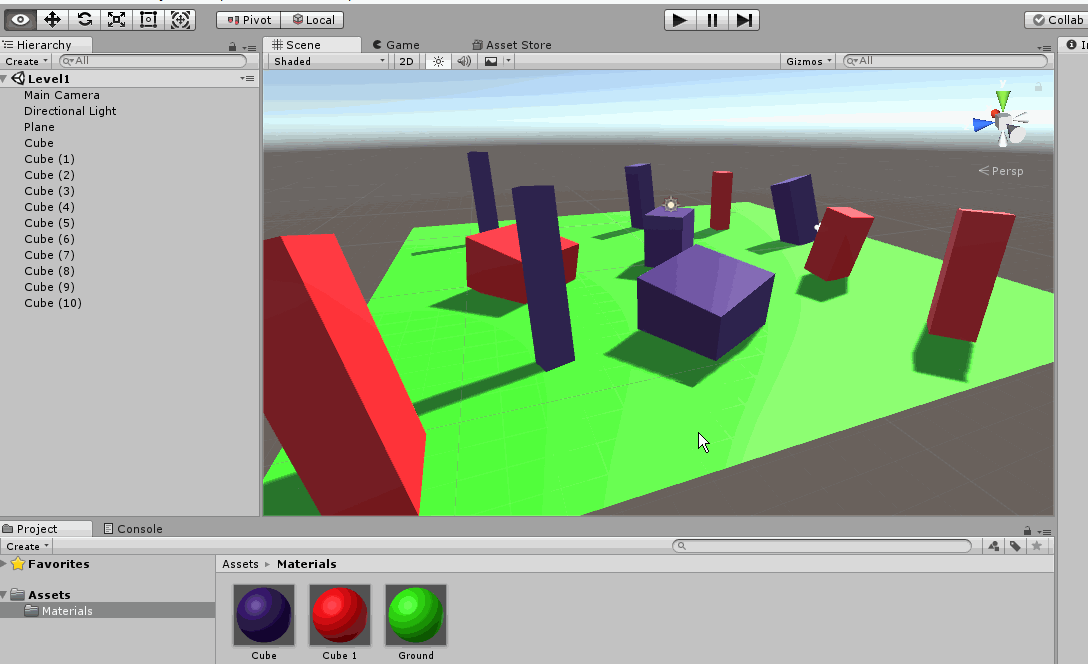
To make this scene, I just duplicated the cube in the Hirearchy and moved it around and changed the scale and rotation. Duplicated also the material and assigned it to some cubes.
We have learned today about navigation in Unity and the different ways to navigate with. Choose whatever way you are comfortable with. In the next part, we will start scripting in Unity.